

How to Mix Operatic Vocals with Distorted Guitars

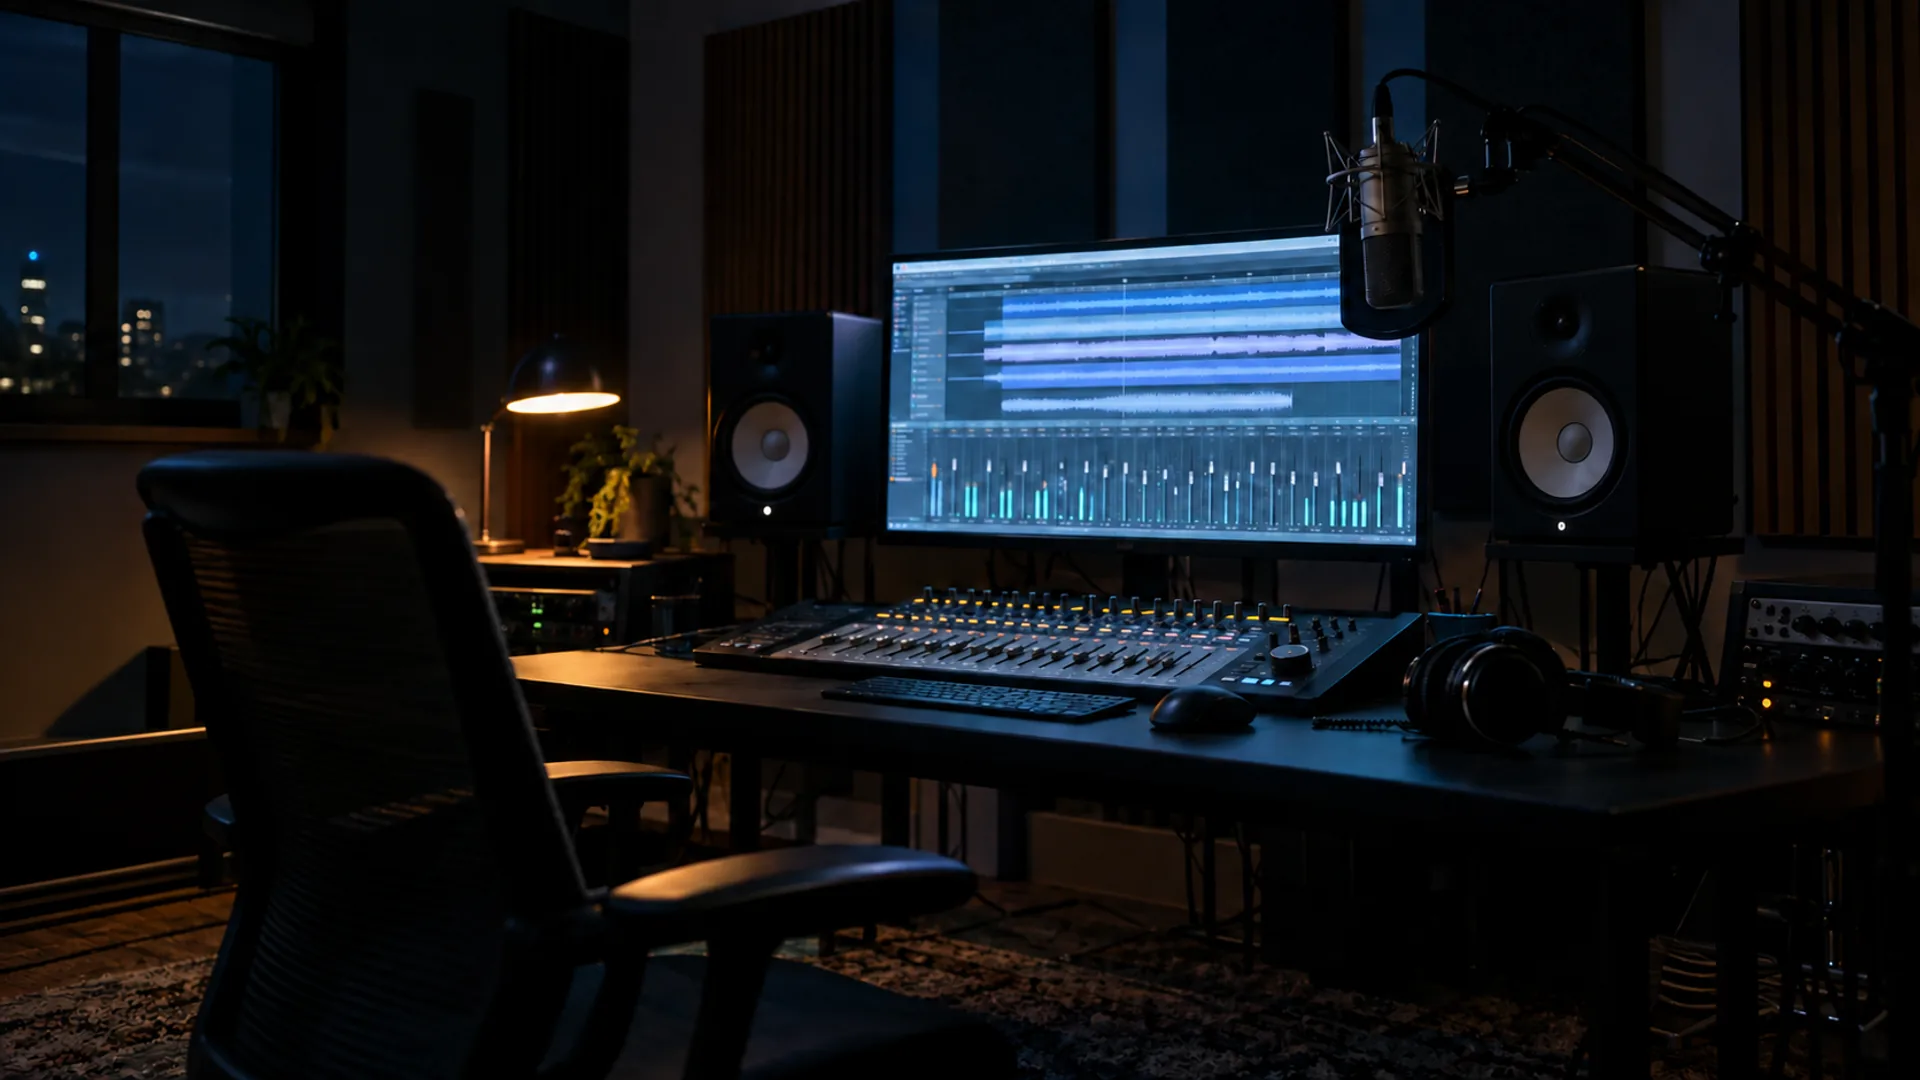
Symphonic metal asks two sounds to share the same room that, acoustically, want nothing to do with each other. A wall of distorted guitars is a dense, saturated block of midrange. A trained soprano is a precise, harmonically rich instrument that lives in almost exactly the same place. Put them side by side without a plan and one of two things happens: the voice disappears, or you turn it up until the guitars sound thin and the whole mix loses its weight.
We ran into this on every song we wrote for The Other Side. Here is what we learned recording and mixing thirteen tracks at Northern Compass Studio — written for anyone making this kind of music in a small room with a modest budget.
The problem is arrangement, not EQ
The instinct is to reach for an equaliser. That is almost always the second step, not the first.
Distorted rhythm guitars, a full string section, brass and a lead vocal all compete for roughly 200 Hz to 4 kHz. No amount of EQ creates space that the arrangement never left. If four instruments play sustained chords in the same octave at the same time, the mix is already lost before you open a plugin.
So the first question for every section is: who is carrying this moment, and what can stop playing?
In practice, that meant:
- Verses: guitars step back to a lower register or palm-muted figures, strings take the sustained chords an octave above the vocal, and the voice owns the middle.
- Choruses: guitars come forward, but the orchestra moves out of the vocal range — low brass and cellos underneath, high strings above, a deliberate hole where the voice sits.
- Instrumental passages: this is where the orchestra finally gets the midrange to itself. Save your biggest string writing for the moments with no vocal.
Writing the orchestration around the vocal line, rather than under it, solves most of the problem before a single fader moves.
Carve, don't boost
Once the arrangement is right, the mixing is mostly subtraction.
A common mistake is boosting the vocal's presence range to cut through. That works for one section and falls apart in the next, because you have made the voice brighter rather than making room for it. The more durable approach is to take a little out of everything else in the band of frequencies where the voice's character lives.
For a soprano, that character sits largely in the 2–5 kHz range, where consonants, vibrato detail and the singer's formant live. A narrow, gentle cut in the rhythm guitars around there — a couple of dB, not ten — makes the voice audible without changing its tone.
Low mids matter just as much. Distorted guitars and cellos both pile up around 200–400 Hz, and that is where a mix turns to mud. Decide which one owns it. On our heavier songs the guitars won; on the quieter ones we thinned the guitars and let the low strings carry the body.
Dynamic EQ is worth learning for exactly this. Rather than permanently scooping the guitars, a dynamic band that only ducks when the vocal is present gives you the space during the lines and the full guitar tone between them.
Give the voice a different space
Frequency is one axis. Space is another, and it is under-used.
Operatic vocals carry an expectation of a real room — hall, plate, long tails. Metal guitars usually sound best relatively dry and close, or the rhythm turns to sludge. That difference is your friend. When the voice sits in an obviously larger space than the guitars, the ear separates them even when they overlap in frequency.
A few things that worked for us:
- Pre-delay on the vocal reverb, around 20–40 ms, keeps the initial consonant dry and intelligible while the tail still blooms.
- Filter the reverb return — high-pass it so the wash does not add to the low-mid buildup, and often low-pass it too so it sits behind rather than on top.
- Keep the guitar reverb short. If the guitars need size, a short room or a subtle doubling usually beats a long tail.
Compression: control the performance, not the tone
A well-trained singer has enormous dynamic range, and that range is the point. Flattening it with one aggressive compressor removes exactly the drama you hired the voice for.
Two gentler stages work better than one heavy one. A first compressor catching only the loudest peaks, then a second doing light, broad levelling, keeps the voice steady in the mix while preserving the sense that someone is actually pushing. Automation does the rest — riding the fader line by line is unglamorous and it is still the single most effective vocal tool there is.
Sidechaining is worth trying and worth abandoning if it sounds wrong. Ducking the orchestra very slightly when the vocal enters can open a hole. Do it too hard and the mix breathes audibly, which is worse than the original problem.
Layer the orchestra like a band, not a patch
A sampled orchestra will not sit next to real distorted guitars if you treat it as a single stereo instrument. It needs the same attention you would give a drum kit.
Separate your sections. Low strings, high strings, brass, woodwinds and choir each want their own level, their own place in the stereo field, and often their own treatment. Brass and distorted guitars fight badly — if both are playing the same rhythmic figure, pick one.
And be careful with the choir. A big choir patch sounds enormous in solo and eats the entire midrange in context. We ended up using ours far more sparingly than we expected, mostly in the sections where the lead vocal rests.
Reference constantly, and in mono
Every mix engineer says this and it is still the thing most people skip.
Pull up a commercial record in the genre and match your loudness before comparing. What you are listening for is not "is mine as loud" but "where does the voice sit relative to the guitars, and how much low end do they actually have?" Most home mixes have more low-mid than they think.
Then check the whole thing in mono. If the vocal survives in mono, it will survive anywhere. If it vanishes, something is being masked, and you have just found the thing to fix.
The short version
If you take one idea from this: space is written, not applied. The mixes that worked for us were the ones where the arrangement already had a hole for the voice. Everything after that — the EQ, the reverb, the automation — was small, careful work to protect a decision we had already made in the writing.
That is the part nobody tells you when you start making symphonic metal in a bedroom. The plugins matter far less than the question of who is allowed to play.
Norbert Gobor writes, performs, produces, mixes and masters Dream Map's music at Northern Compass Studio. You can hear the results across all thirteen tracks of The Other Side.
Dream Map
Music from the other side.